Launch The GUI
At first, you should lanuch the GUI. Please execute the following command in the terminal:
$ zengui/util/zeng.jlThen you can see the main GUI (see Figure 1).
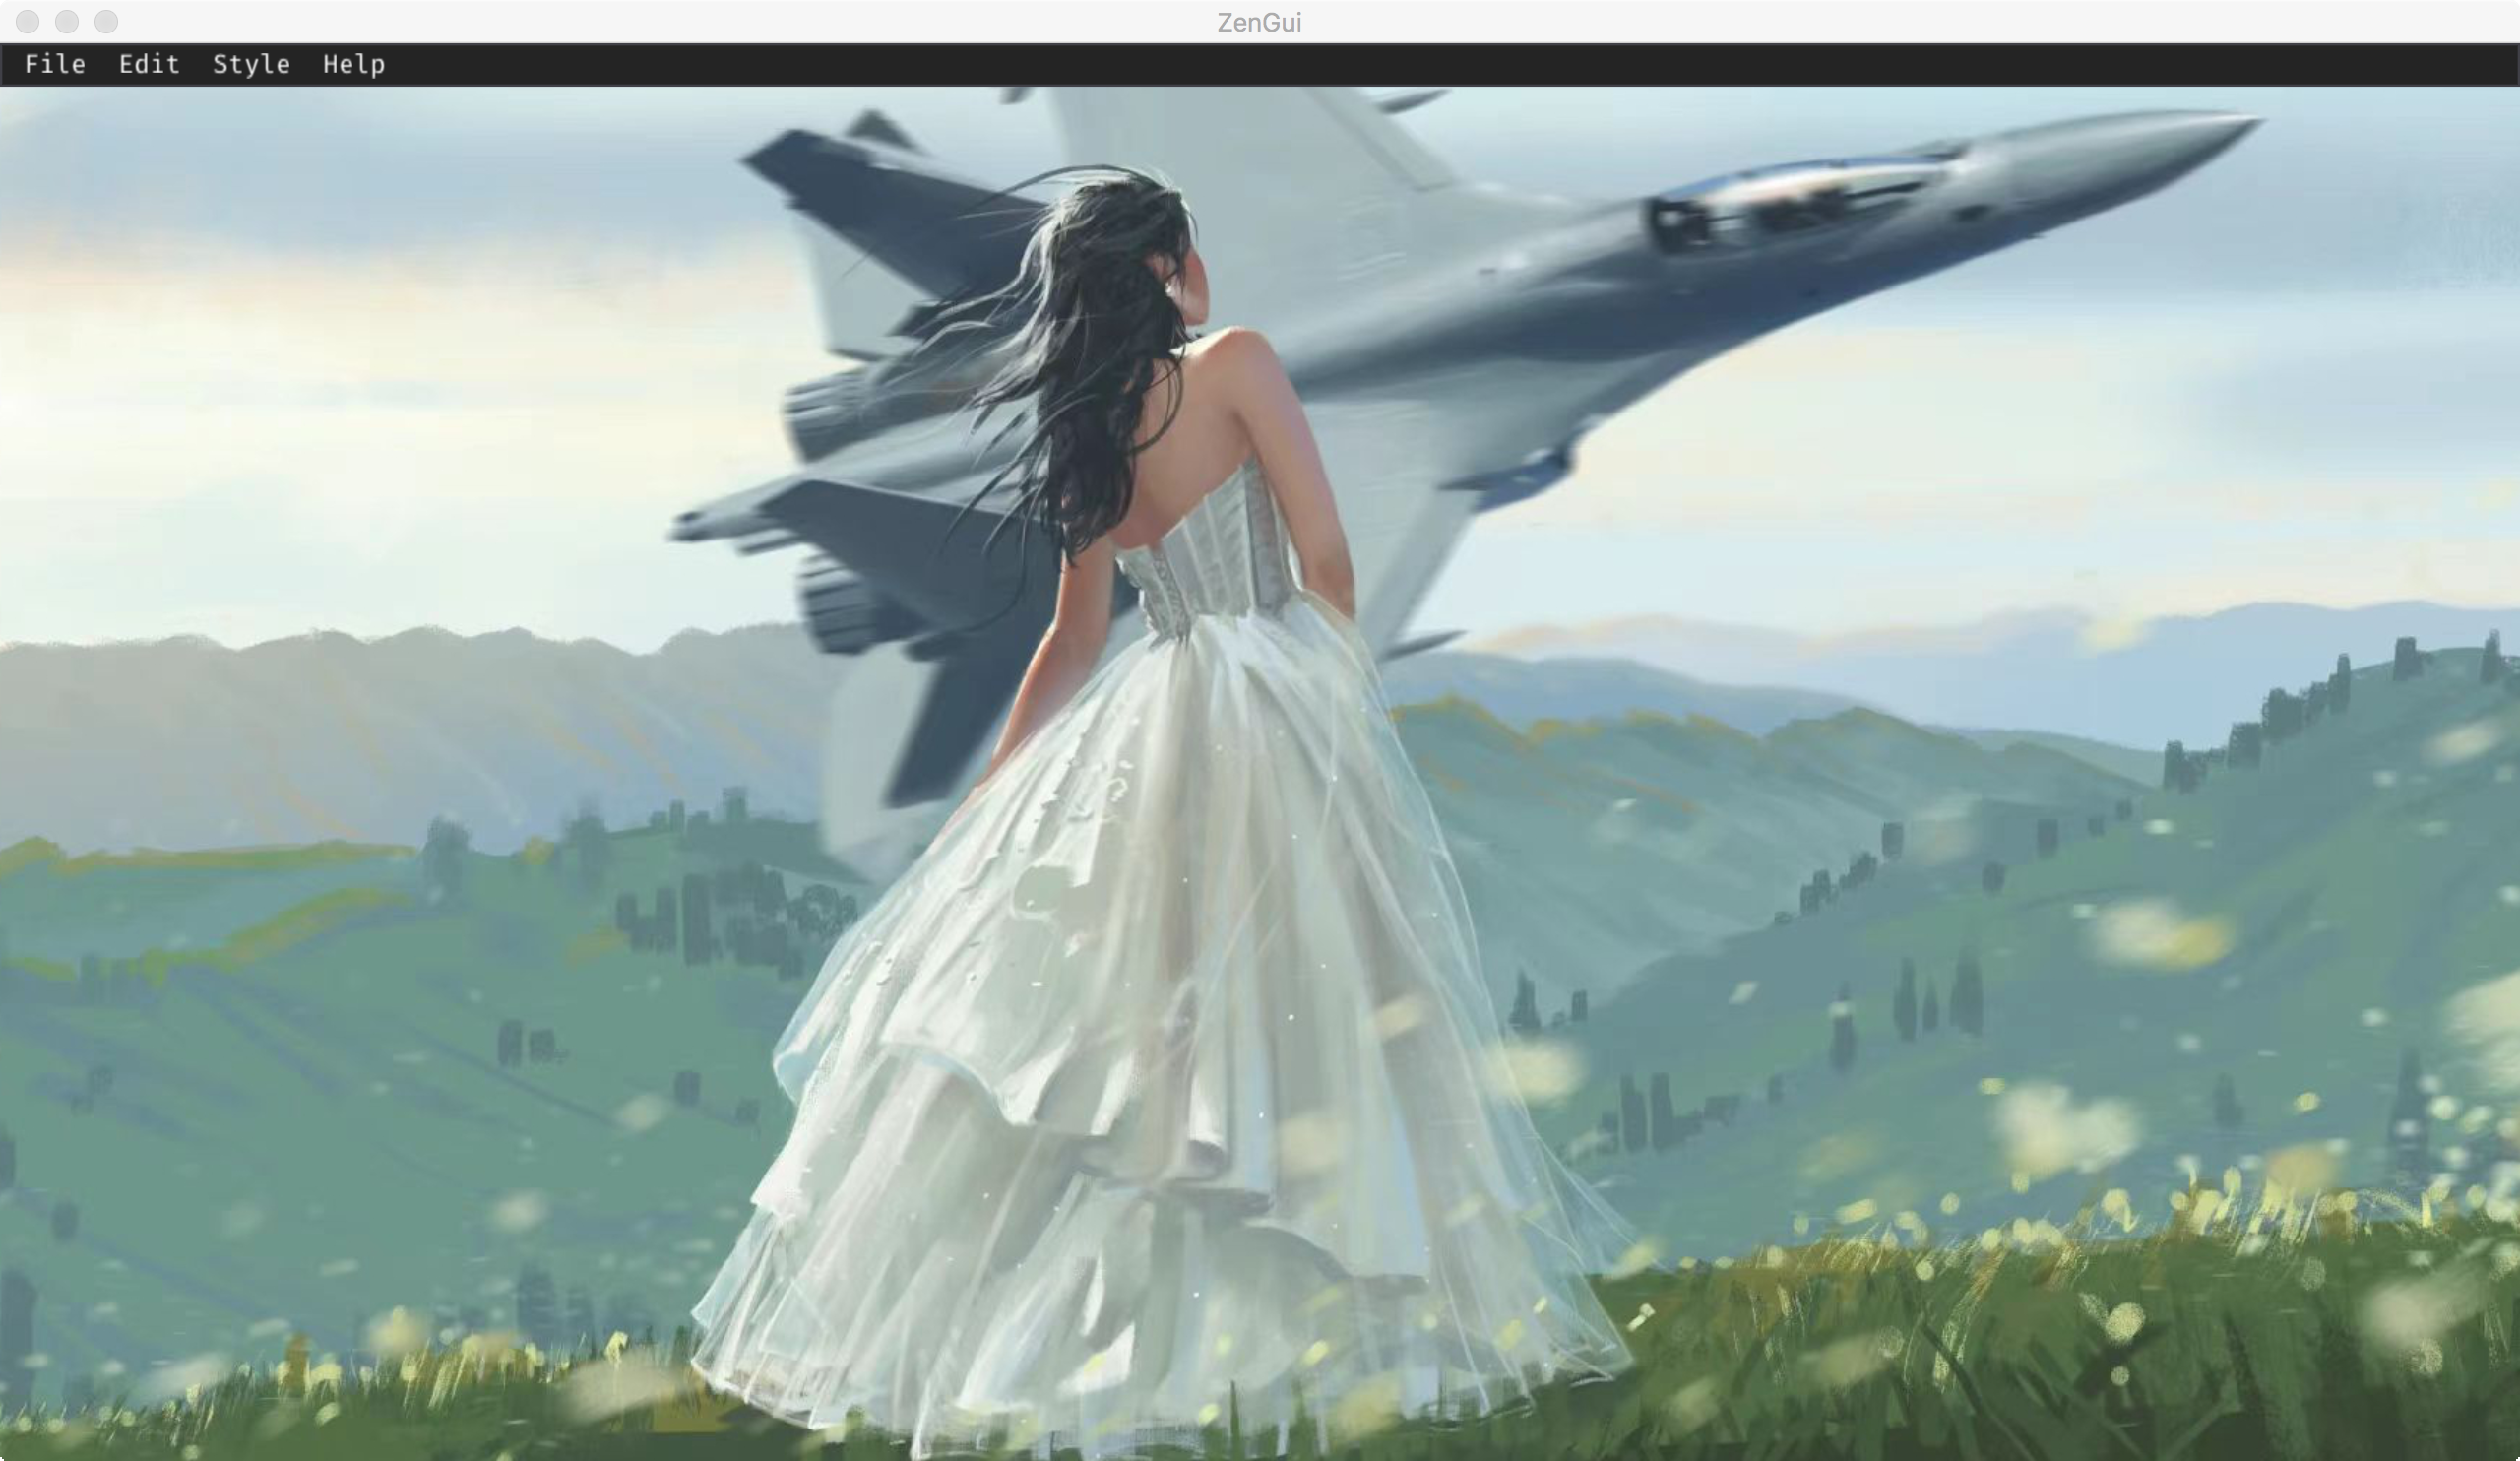
Figure 1 | Main GUI for the ZenGui app.
The ZenGui is a menu-driven GUI. It has four menu groups: File, Edit, Style, and Help.
Change Window's Style
Please click the menus in Style one by one to see what will happen. Now ZenGui supports three color styles: classic, dark, and light. You can change the background image of main window as well.
Seek Helps
Please use the menu group Help. The ZenGui will invoke the default web browser of the OS to open the official documentation for the codes you are interested in.
Edit Configuration Files
Please use the menu group Edit. For example, if we want to configure the Zen package, please click Edit -> Integrated Package -> Zen. Then ZenGui will popup a new window. It looks like as follows (see Figure 2):
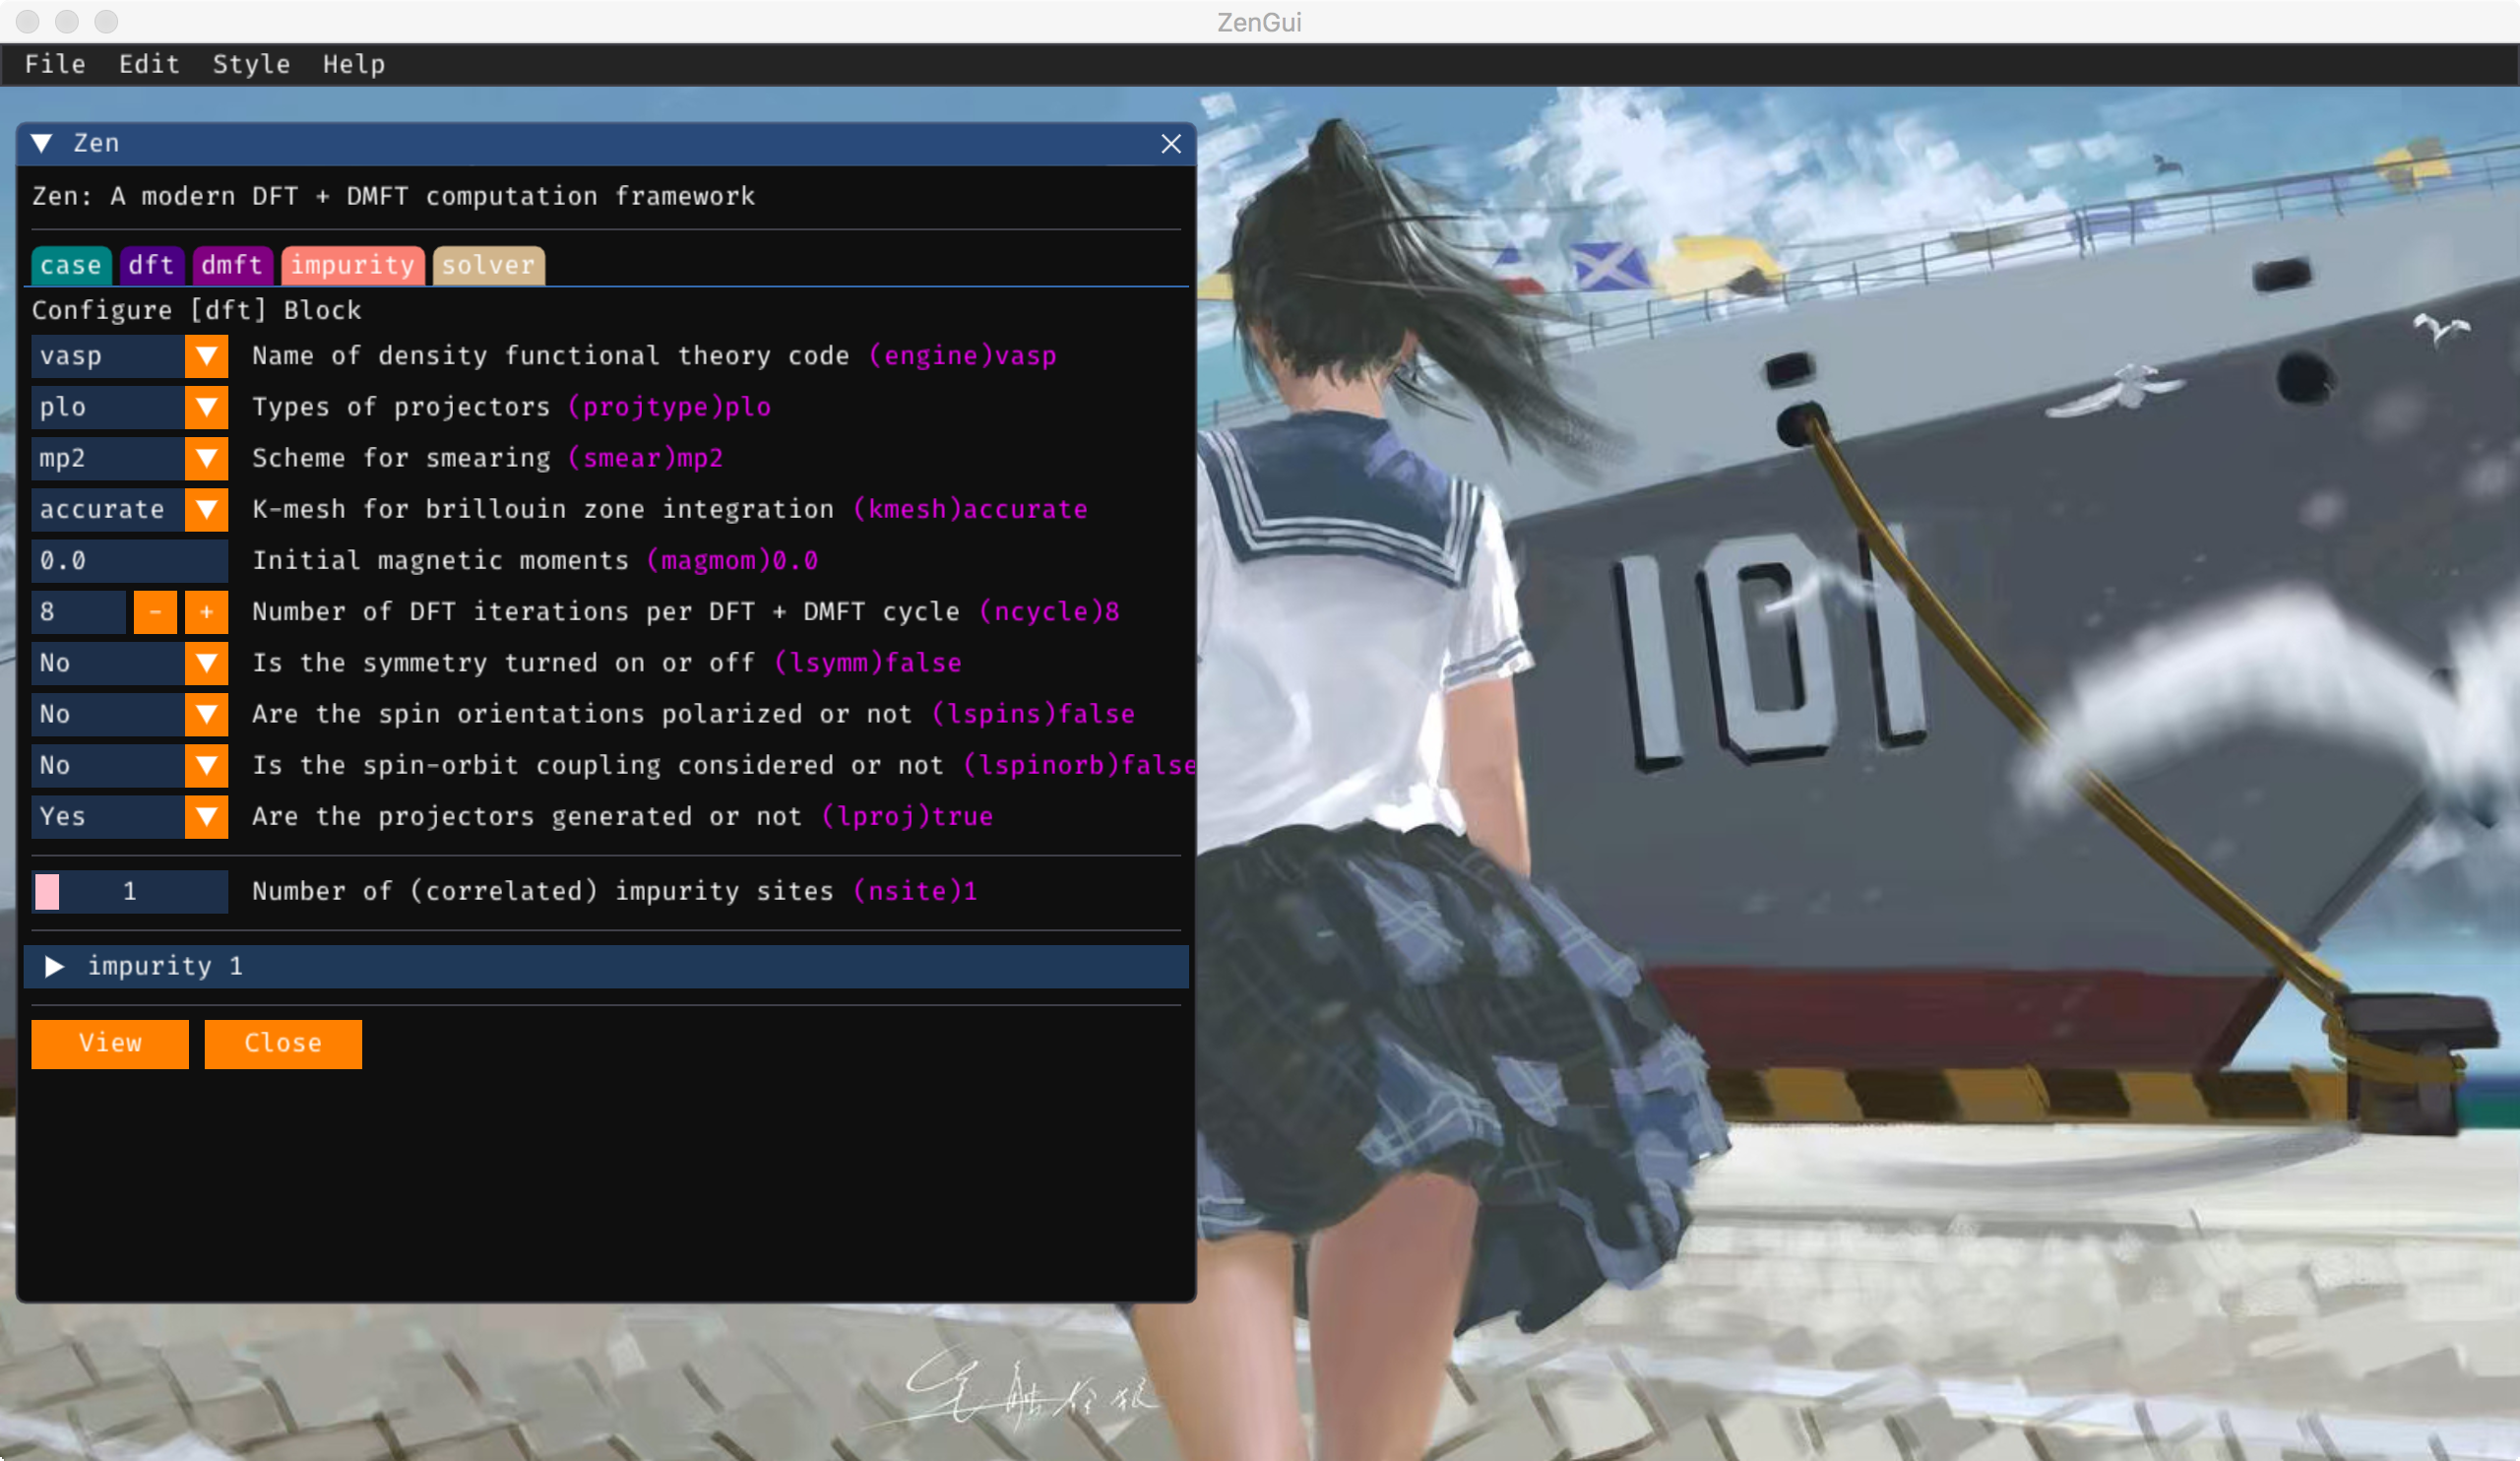
Figure 2 | The GUI for the Zen package.
At this window, we can setup the parameters for the Zen package easily. Be careful, there are five tabs (case, dft, dmft, impurity, and solver) in this window. They are related to the five blocks in the configuration file for the Zen package (case.toml). So please click them one by one, and check whether all of the parameters are reasonable and valid. If you want to have a look at the configuration file, please click the View button at the bottom of this window. Then ZenGui will popup a new Preview window. It looks like as follows (see Figure 3):
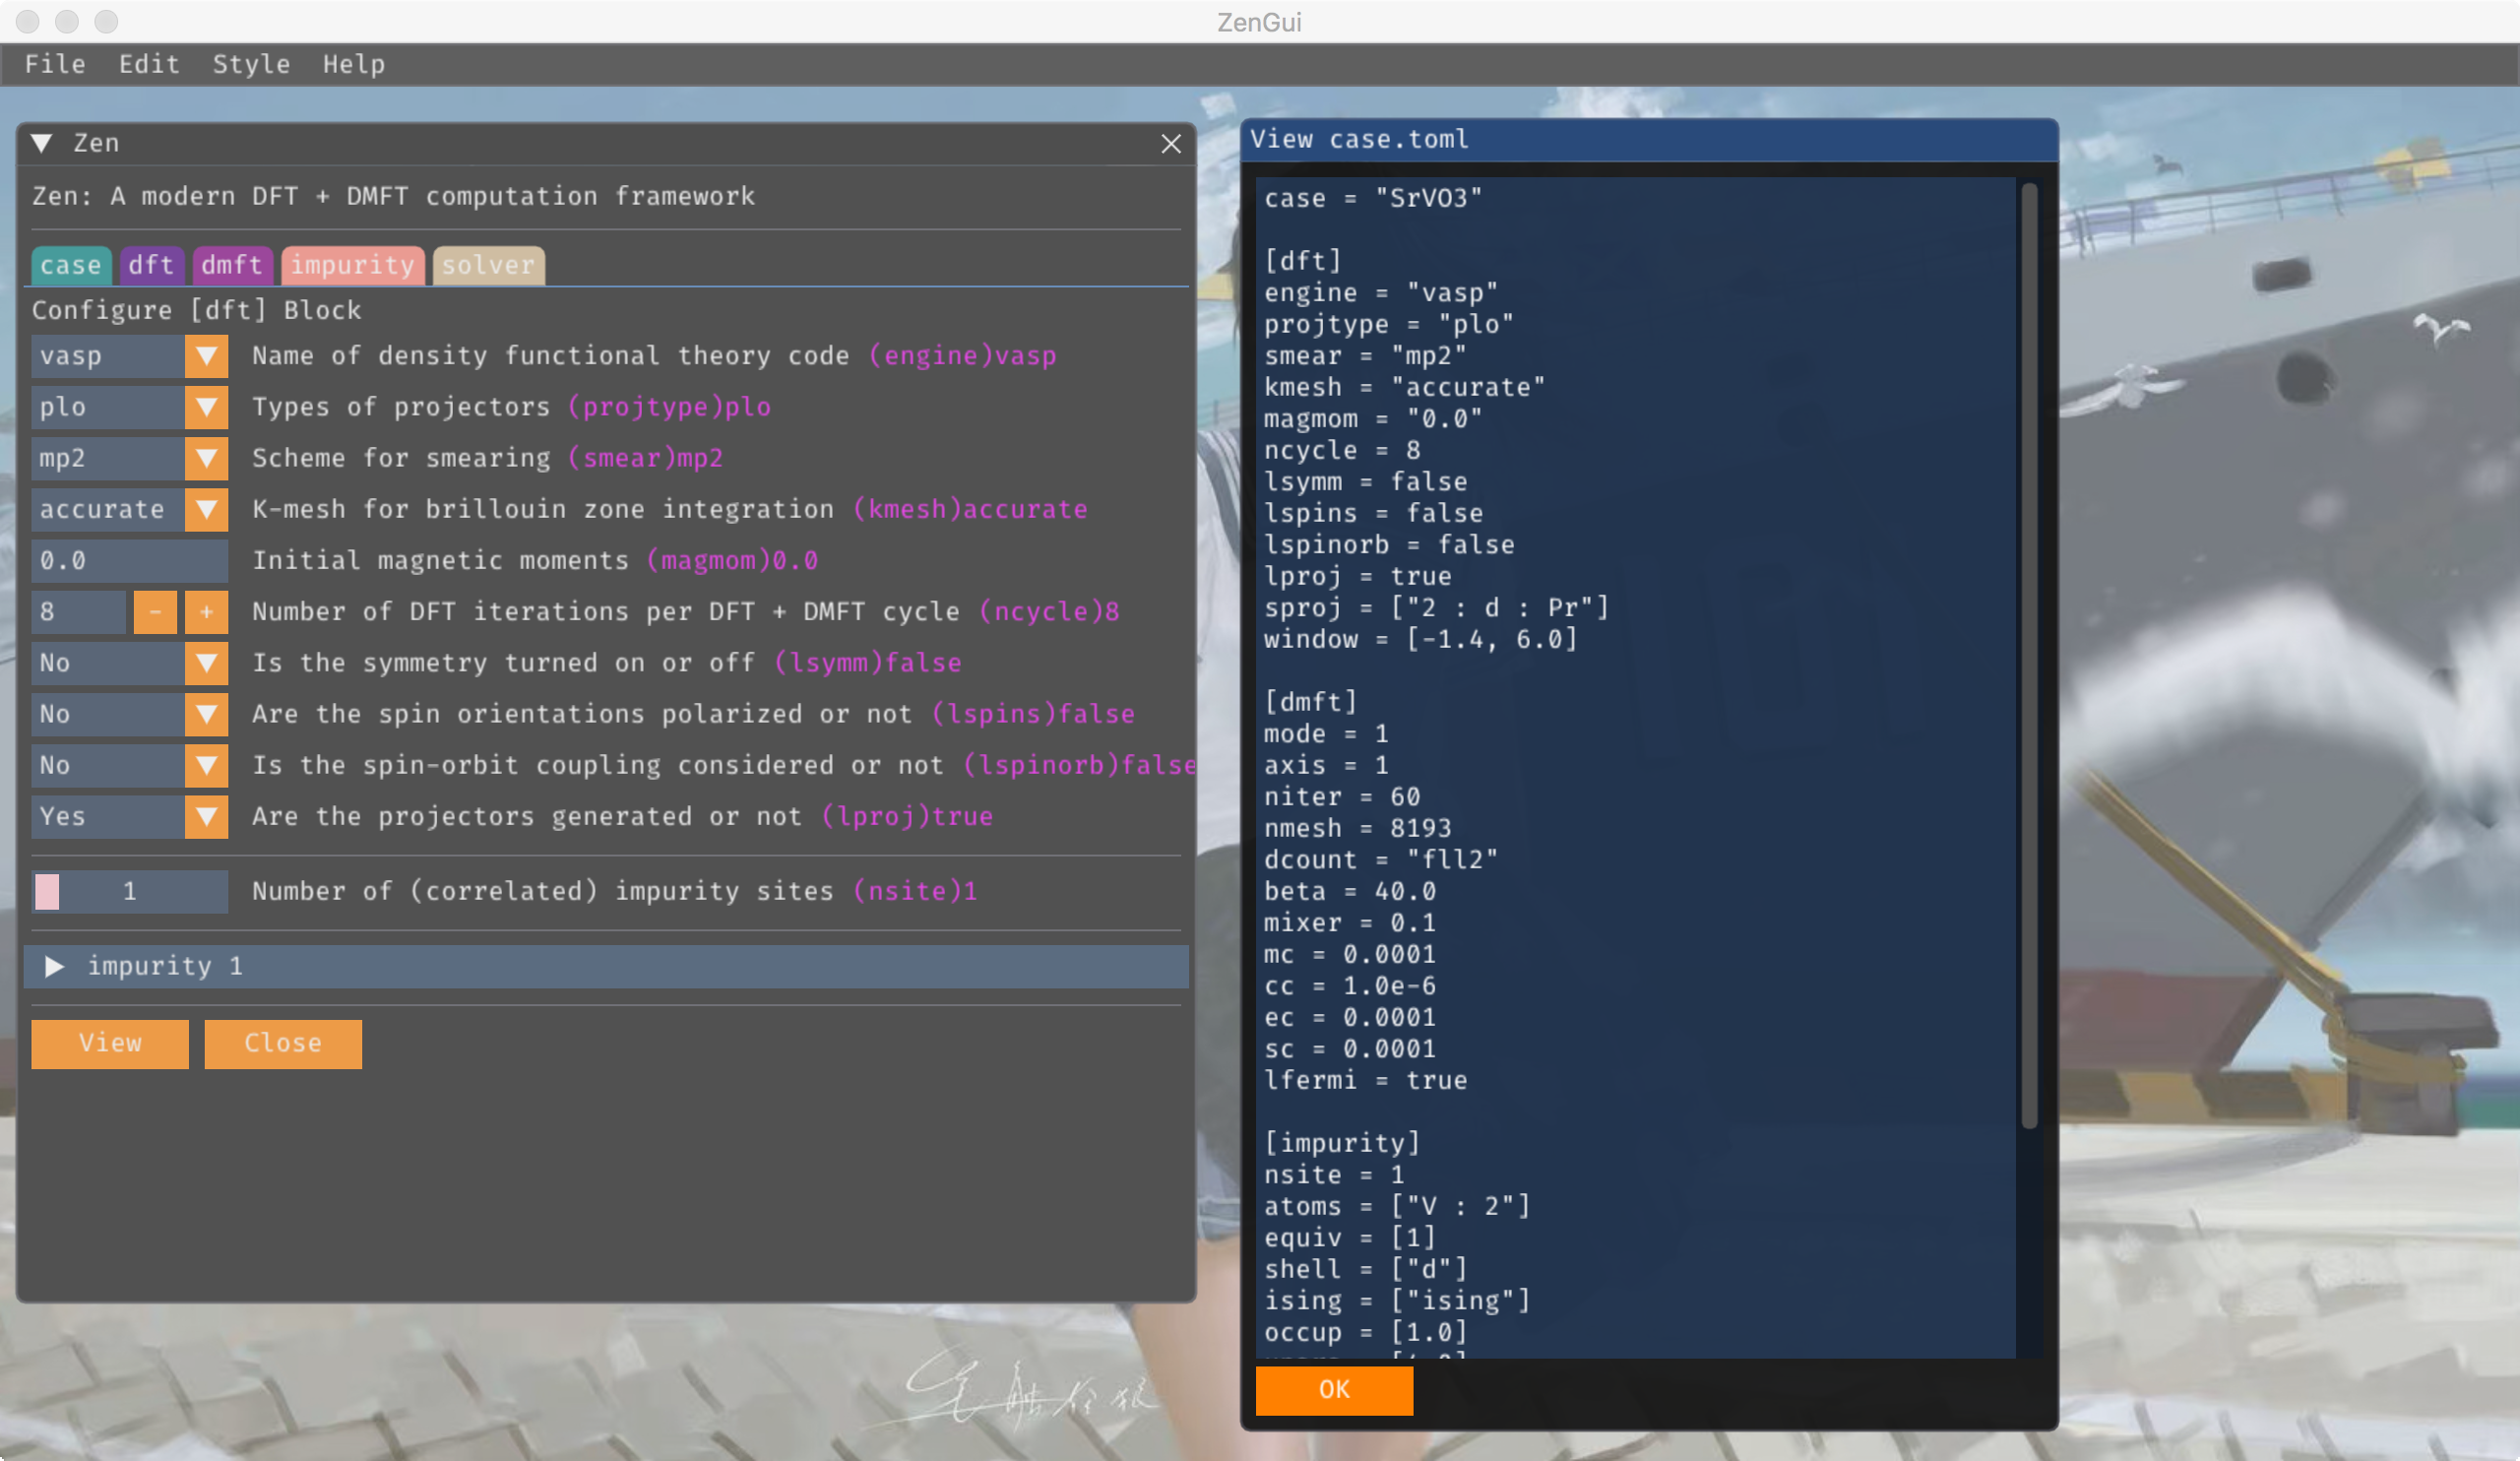
Figure 3 | The Preview window for the Zen package.
Save Configure Files
Well, if every parameters is correctly setup. Now we can try to generate the configuration file and save it.
At first, please make sure that the configure window for the code is activated (on front of any other windows). This is quite important.
Second, please click the menu File -> Save. Then a new window is shown (see Figure 4). It tells us the path for the generated configuration file. Please click the Save It button. Then you can find the generated configuration file in the current directory.
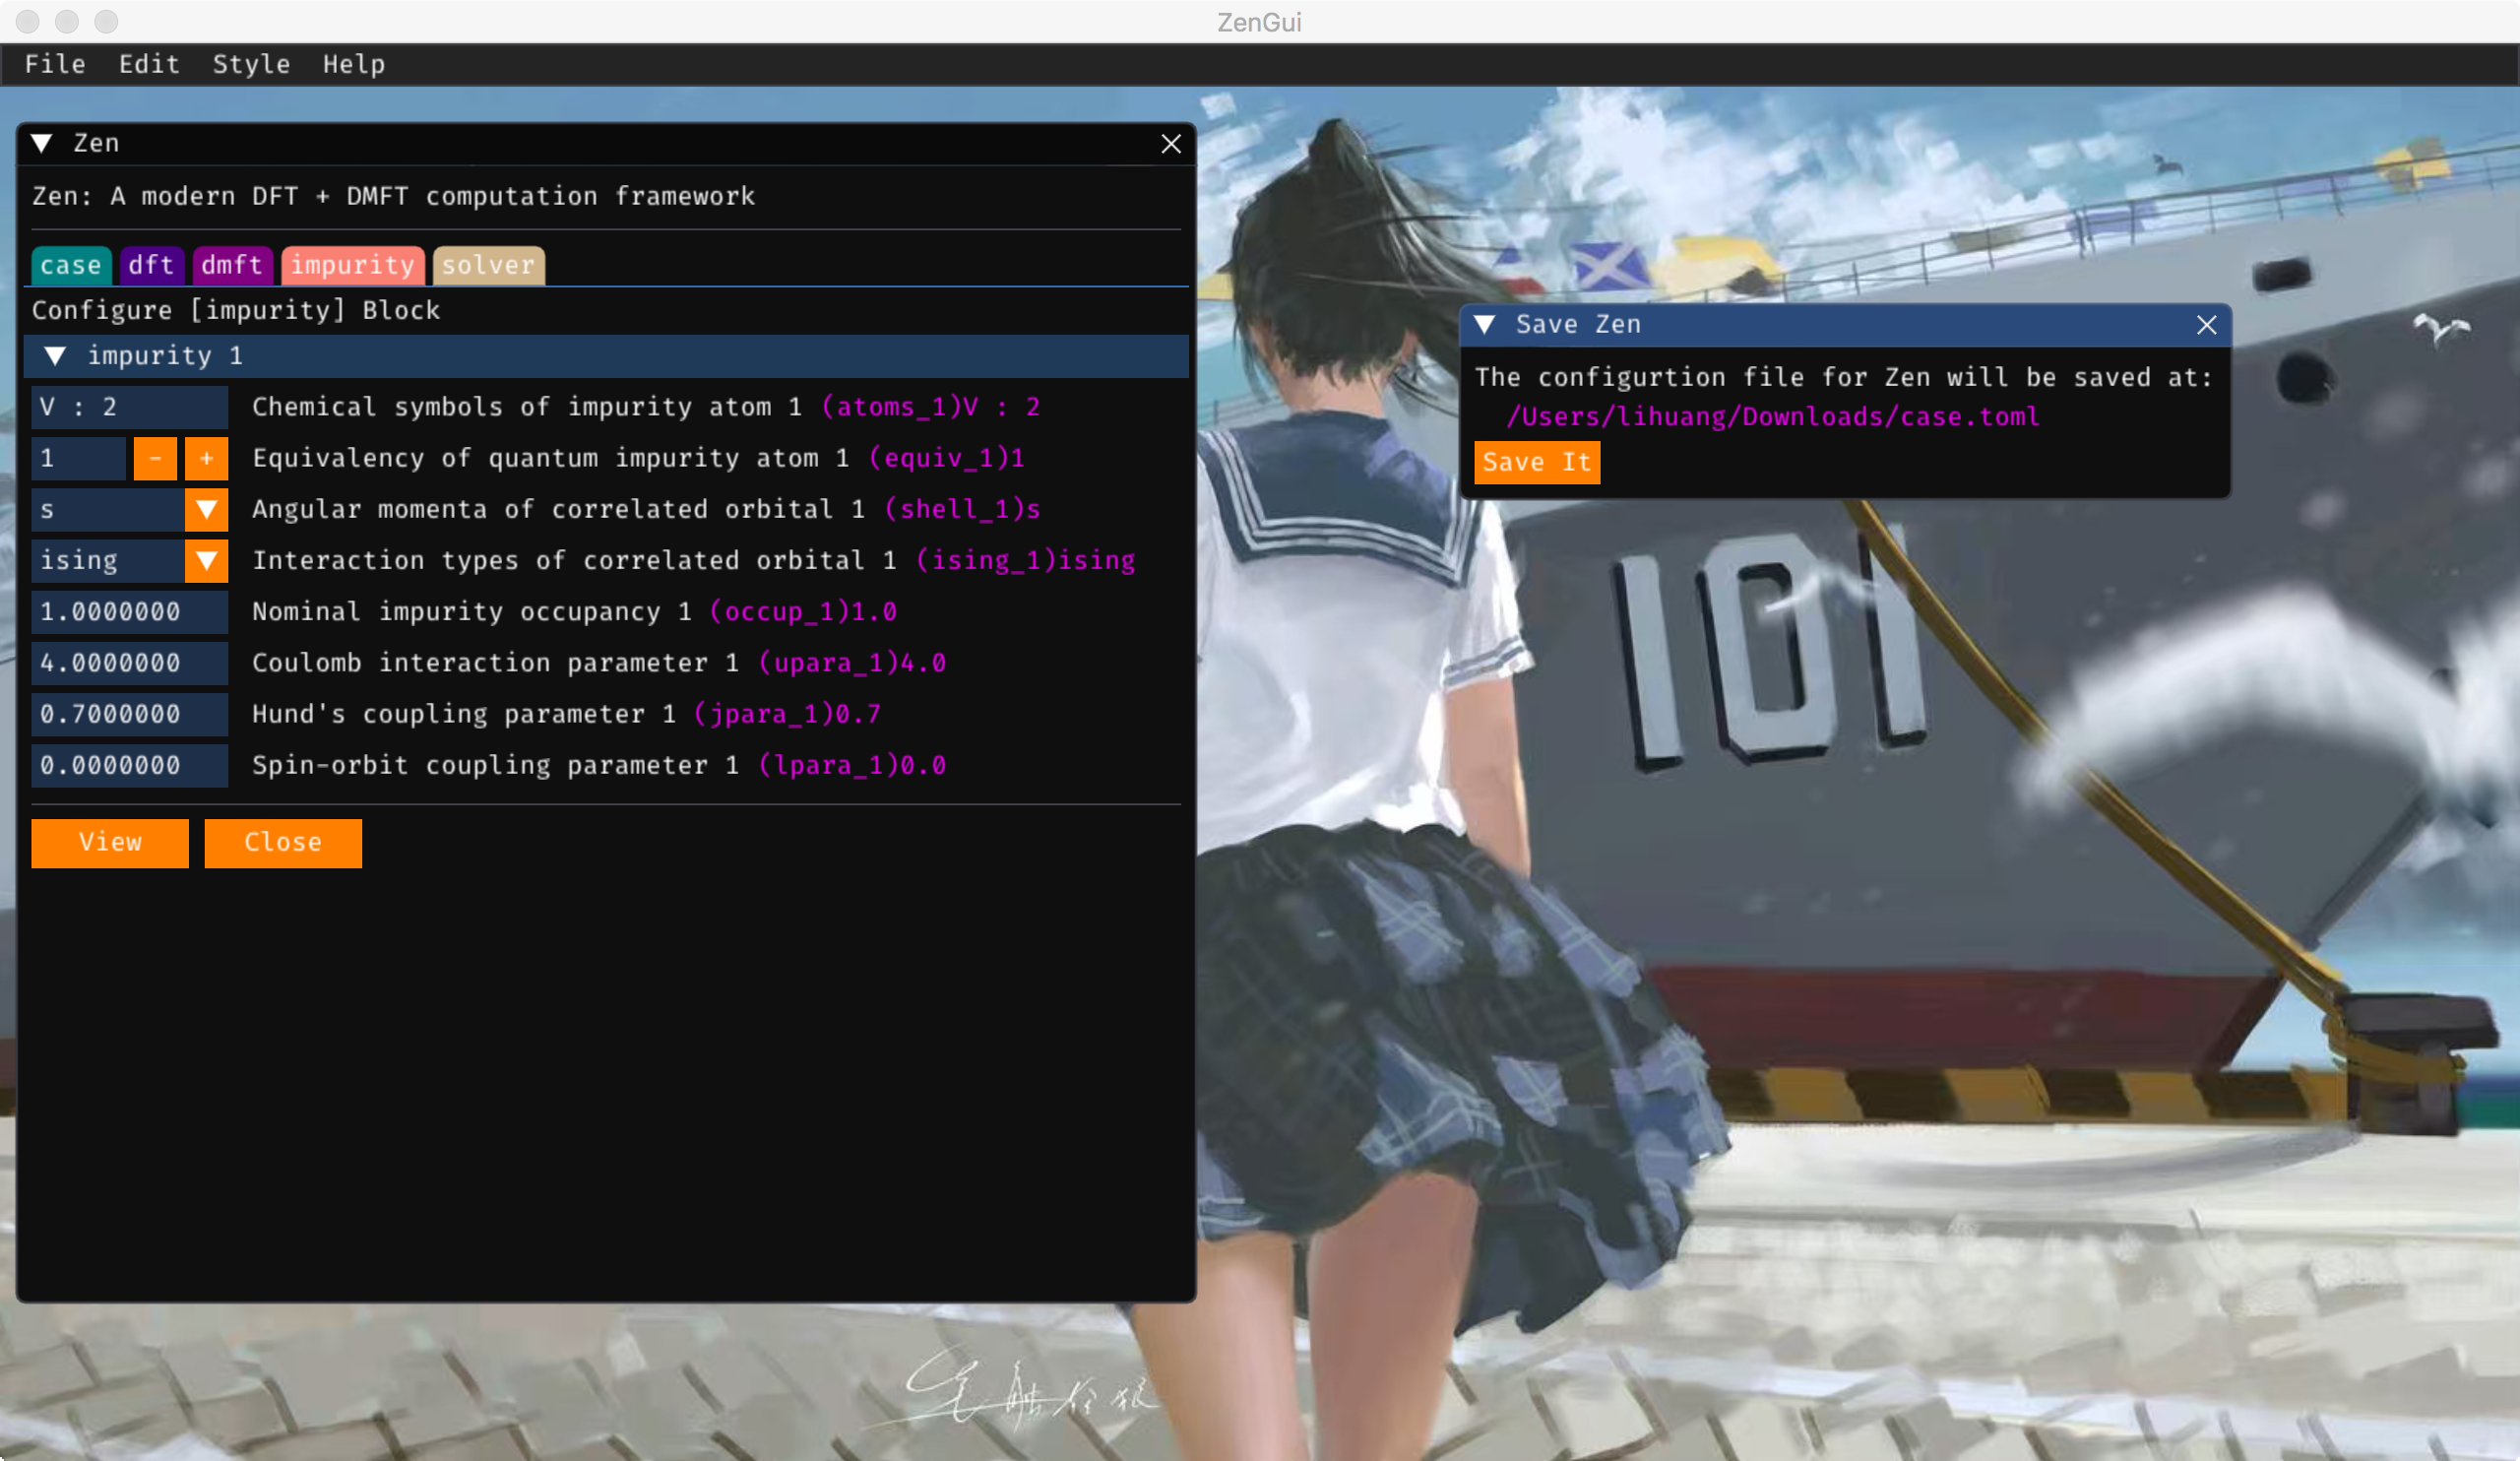
Figure 4 | The Save It window for the Zen package.
Close ZenGui
Please click the File -> Exit menu.